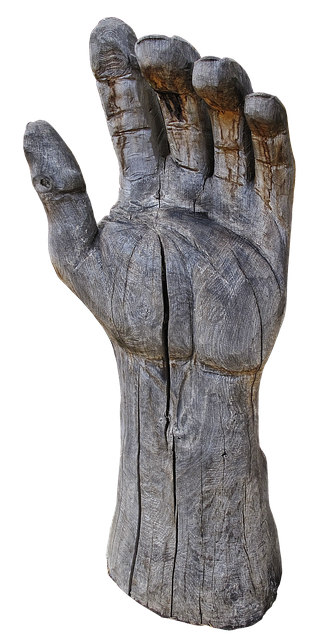
There's no better way than following a photo trail if your heart desires to carve. It's a great way for you to replicate a famous carving, without spending hours researching other styles. It's important that your eyes are as accurate as possible. You'll have lots of fun and will likely have great eye-hand coordination. But don't be discouraged if you aren't a skilled carver. There are many simple ways to have realistic-looking eyes.
Lesson 4 Hair carving
This step-by–step tutorial will help you carve beautiful flowing hair to the eyes of your animal carving. It will allow you to create a lifelike appearance and create an illusion of emotion. The video will show you how to create different textures and styles of hair. It will also show you how to use different curving tools to achieve different levels of hair. Once you are comfortable with the basics, you can start to tackle the more complex parts of your face like the nose and eyeballs.
First, you should outline the eye cavities with a pencil. Next, draw a straight line extending from the eyelids and eyebrows. You can also draw small squiggles on the forehead to make it rounder. After that, you can use a whittling blade to round out the corners and the bottom lip.
Lesson 5: Carving the feet of the crow
Crow's feet is a common condition. You should learn what causes it. Repeated facial expressions like squinting can cause wrinkles. Crow's feet is a result of repeated facial expressions such as squinting. If this is you, then you need to wear reading glasses. To prevent crow's foot, you can also use facial moisturizers.
Fine lines and wrinkles on the face make people appear older than their years. You can easily reduce these lines to give your complexion a younger look. These are some helpful tips.
Lesson 6 Carving an Iris
Children can see the iris, ocellus and other parts of their bodies in a mirror. This will help them to understand how they feel and look. They can also draw their eyes by using observational drawing. They can also look for white and different shades in the central black. They can then add colour to the drawing using different media, trying to create the illusion that there is depth. Children can then compare their drawings of the eyes to see what differences they have in colour.
FAQ
How can I organize my shop?
Setting aside an area to store tools is the first step in keeping your workshop organized. To keep your tools sharp and ready for work, keep them clean of dust and debris. You can hang tools and accessories with pegboard hooks.
Which wooden items are very popular?
Most wooden items that are best-sellers are made from wood harvested sustainably.
The most used wood types for furniture are oak, maple and walnut.
These woods are extremely strong but also have beautiful colors and grain patterns. They also last for many years if cared for properly.
To prevent moisture damage, wood furniture should always first be painted. This includes all surfaces, including drawers, doors, and handles.
A paint that resists water is the best choice to ensure that furniture lasts a long time.
You should use a high-quality oil-based primer followed by two coats of top coat. Depending on the amount of wear, you may need several coats.
Avoid spray cans and aerosol paints. These products contain solvents that evaporate quickly and leave behind harmful fumes.
Where do I get my woodworking supplies?
There are many places that you can find all the information you need. For example, you could visit local hardware stores or look online at websites like Amazon.com.
For furniture and other materials that you can reuse, check out flea markets and garage sales.
How can you calculate the woodworking price?
Remember to keep costs as low as you can when calculating project costs. Always make sure you get the best price on materials. Also, consider all other factors that can affect the price of your projects such as skill level, experience, time and cost. To get an idea about the average cost for common household DIY tasks, see our guide to the average woodwork project price.
Statistics
- Average lumber prices rose about 600 percent between April 2020 and May 2021. (familyhandyman.com)
- If your lumber isn't as dry as you would like when you purchase it (over 22% in Glen Huey's opinion…probably over 10-15% in my opinion), then it's a good idea to let it acclimate to your workshop for a couple of weeks. (woodandshop.com)
- Most woodworkers agree that lumber moisture needs to be under 10% for building furniture. (woodandshop.com)
- In 2014, there were just over 237,000 jobs for all woodworkers, with other wood product manufacturing employing 23 percent; wood kitchen cabinets and countertop manufacturing employing 21 percent. (theartcareerproject.com)
External Links
How To
How to join wooden boards without using nails
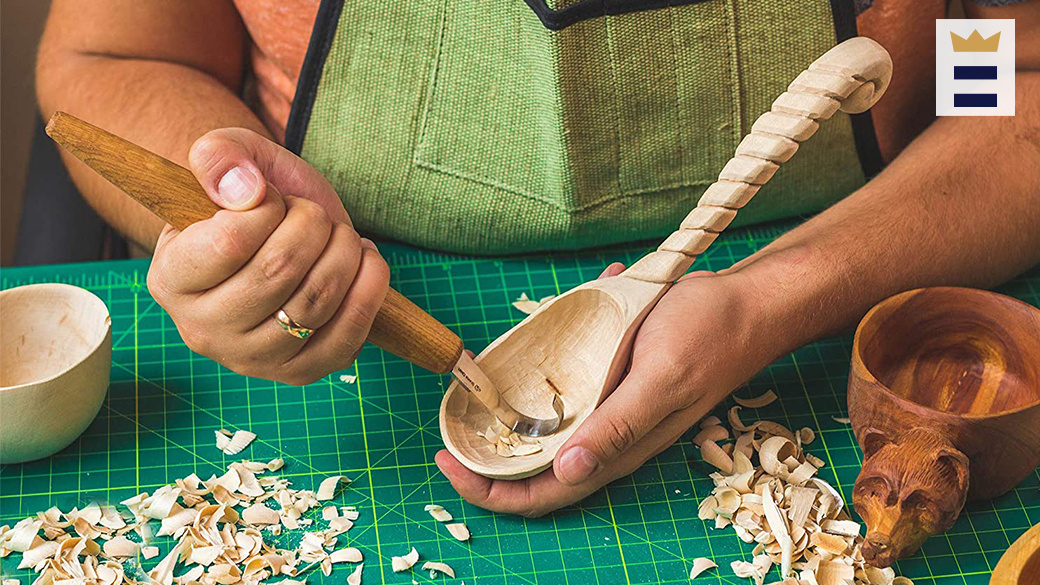
Woodworking is a favorite hobby. It is relaxing and enjoyable because you can create something useful with wood. However, there are times when you want to join two pieces of wood together without having to use nails. This article will demonstrate how to do so to preserve the beauty of your woodwork.
You will first need to trim the edges of your wood pieces before joining them. Do not leave any sharp corners as they could cause problems down in the future. Once you've done this, you're ready to start gluing your boards together.
You should only glue one side of hardwood. If you are using softwoods such pine or cedar, glue should only be applied to one side. Once you have applied the glue, press down on the boards until they are fully attached. After applying the glue, let dry the boards before proceeding to the next stage.
After you have glued your boards, drill holes where you want to insert screws. Depending on what type screw you choose, the size of these holes will depend on how big they are. For example, if your screw is a 1/2-inch wooden screw, drill a hole that is at minimum 3/4 inches deep.
Once you've drilled your holes, you'll want to drive the screws through the joint and into the backside of the board. You should be careful not to touch the board's front surface. This could cause damage. Try to not hit the ends of the screws when driving the screws. This will prevent the wood from splitting.
Now that your project is finished, you'll want to protect it from the elements. To do this, you can seal the entire furniture piece or just cover the top. You want it to last years, so you can use any product. Some examples include oil-based varnishes, polyurethane, shellac, lacquer, etc.
These products can generally be found in any home improvement shop. Just make sure that you buy the right kind for the job. Don't forget to keep in mind that some finishes are toxic. So, always wear protective gear when handling them.