
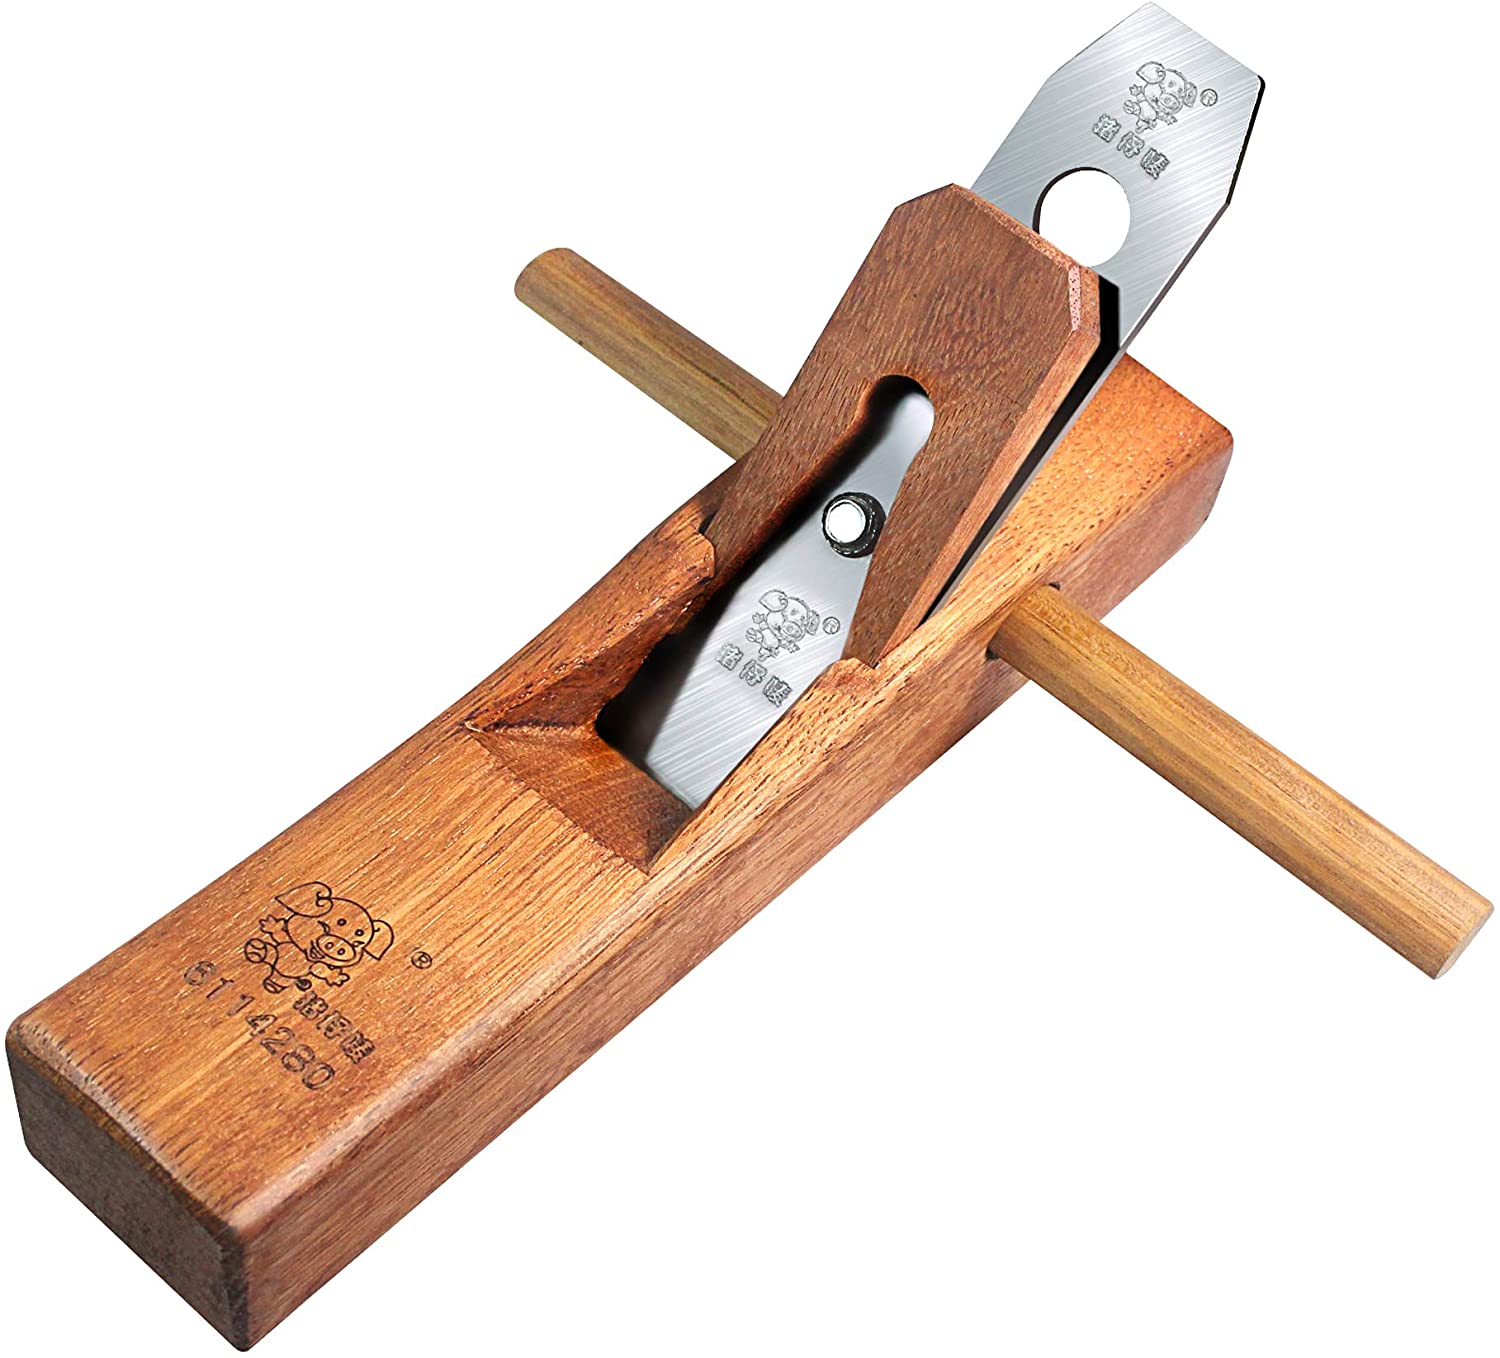
There are some things you can do to help wood burn. These tips include the following: Never burn pressure-treated lumber. Use wood that has not been subjected to any pressure. You should also use a pen-like device with a solder tip. For those who are new to wood burning, we have a full review on the best wood burning tools. This article was created to help you get started.
Avoid pressure-treated wood
Use pressure-treated wood only if you intend to use it as a wood stove. You can paint, varnish, or stain pressure-treated wood. This wood is very toxic when it is burned. This wood contains chemicals known to cause cancer. Treated lumber should be avoided. You should not burn treated lumber.
Use a pen-like instrument
When using a pen-like tool for wood burning, you'll need a few tools in order to get the job done properly. Your first tool is a heat pen or pyrography pen. To get to know the pressure and time settings, be sure to practice using it on scrap wood. Heat pen works by heating the wood. Be careful to prevent burns.
Use a solder tip
A soldering iron will not work for soldering. A soldering iron that has not been modified is the best choice. This tool includes a thick wire with a U-shaped tip. It glows a dull pink under heat. Unlike a regular iron, a soldering iron has a dial that allows you to control the power of the tip. To protect your hand, the soldering tool should include a stand and a grip.
How to get started wood burning
There are many things you should remember about wood burning, whether you're a beginner or an expert. Burning wood requires pressure and practice. Your first few attempts will result in a messy, smudgy finish. Initially, wood burning is easier to master with softer wood, so be patient and work slowly at first.

Smooth results
Wood burning requires that you prepare the wood's surface properly. A properly prepared surface will allow the wood burning pen to glide smoothly across it, minimizing bumpy edges in outlines and dark spots in shading. Also, a template will help you get the best results. You can prepare your wood to burn smooth. Follow these tips. Now you are ready for the fun part:
FAQ
How long does it take to finish a piece of furniture?
It all depends on what type of wood you use, how complex your design is, and how much finishing you use. Hardwoods, for example, require more maintenance than softwoods. Hardwoods tend to be more expensive that softwoods. They are more durable and can withstand moisture better. The average time it takes to finish furniture is one week to three weeks.
How often should I buy new supplies?
You may have to replace certain tools. If you're using hand tools, you'll need to sharpen them regularly. For power tools, replacement parts will be required frequently. Spread your purchases over several months to avoid purchasing too many items at once.
What kind wood should I use for my project?
Oak, maple, cherry and mahogany are the most common wood types used for woodworking. Each wood variety has distinct characteristics that influence the final product's look and feel. Oak is a darker wood and tends to be more durable than other types. Birch is lightweight and soft while mahogany is heavier and denser. You can also choose between solid wood and veneers. Veneers are thin sheets of wood that are glued together to form a single layer.
What is the main difference between plywood or particle board?
Plywood is made of layers of wood that are pressed together under pressure. Plywood can come in many thicknesses and is used for flooring and cabinets. Particle board is made of sawdust and resin that has been compressed into large blocks. It's commonly used for home improvement projects. Both types are sturdy and easy to cut.
You can learn how to woodwork.
You can learn everything best by doing. Woodworking is an intricate art form that requires practice, skill, patience, and experience. To master any craft, it takes time.
Learning how to do something is best done by doing it. Start small, and work your way up from there.
Statistics
- In 2014, there were just over 237,000 jobs for all woodworkers, with other wood product manufacturing employing 23 percent; wood kitchen cabinets and countertop manufacturing employing 21 percent. (theartcareerproject.com)
- The best-paid 10 percent make $76,000, while the lowest-paid 10 percent make $34,000. (zippia.com)
- If your lumber isn't as dry as you would like when you purchase it (over 22% in Glen Huey's opinion…probably over 10-15% in my opinion), then it's a good idea to let it acclimate to your workshop for a couple of weeks. (woodandshop.com)
- Woodworkers on the lower end of that spectrum, the bottom 10% to be exact, make roughly $24,000 a year, while the top 10% makes $108,000. (zippia.com)
External Links
How To
Tips on how to drive a nail in wood
The first step in driving a nail into wood is to choose the correct size and type of hammer. The most common types of hammers are claw hammers, sledgehammers, mallets, ball peen hammers, and hatchets. Each type has its strengths and weaknesses. A claw hammer is best for hitting nails or hard objects. However, it can be difficult to pinpoint exactly where the blow will land. A sledgehammer is useful for striking large areas at once but too heavy to be effective for smaller tasks.
Place your hand flat on the side of your chosen hammer so that the handle rests in your palm. Grab the handle tightly, but do not squeeze too hard. You should hold the hammer straight-up, with your wrist still relaxed. Then swing the hammer back toward the ground, aiming for the center of the nail. You should feel the impact of your hammer hitting the nail. If you're having trouble getting the hang of swinging a hammer, practice with a block of wood until you get the rhythm down.
When you're ready to start driving the nail, hold the hammer in front of you close to your body. Place the nail so that it is perpendicular with the wood's surface. Keep your focus on the tip of each nail. Then, swing the hammer forward. Next, follow the motion of your hammerhead. Keep doing this until you are comfortable with the swing. Try adding power to your swings when you've mastered the technique. To make it more powerful, hold the hammer up high to your shoulder and then bring it down. This will help you put more energy behind each of your moves.
Once you have made the first hole, remove your hammer. To remove the remainder of the nails, you can use a screwdriver/pry bar. You should ensure that the nails are flush with the board's surface to avoid splitting the wood.